Friday, May 15, 2015

I have an engine

I posted an ad on Scoot.net looking for a wide frame engine which would fit in the VL1T.   I have also ordered a mounting bracket from SIP which helps fit a more modern large frame engine so I will have options to go either way.

I had several people respond to the ad on Scoot.net but most of the engines were pretty bad and really came down to a set of cases with everything else being very questionable.  The I heard from Tom who is a scooter guy in IL.  He had an old wide frame engine from an early Allstate which seemed to be in decent condition and had most of the parts.  Sure it will need an overhaul but it serves as a good starting point.

Tom was great to work with and I got the engine shipped for $300.  It will be a while before I start to dive in to that portion of the project but I have a starting point.  Here are some photos of the engine which Tom provided.  I will include many more when the rebuild process begins.

Total cost so far $1273


Monday, May 4, 2015

Rust removal

If you have looked at the pictures you know I will be dealing with some rust removal.  In the past I have used Evapo-Rust with good results.  It is very safe, non-toxic easy to use and easy to dispose of after the job is done.  Here is the product in a 1 gallon container cost of roughly $23.


I was a bit worried about this project because of the age of the paint and how any rust removal process might possibly damage the paint that remains.  So over the past 36 hours I conducted a small test.  Using the rear license plate bracket which had both painted and primed surfaces I let the pieces soak for about 7 hours.  I took the pieces out of the Evapo-Rust once I saw that all of the rust had been removed. The paint was not affected in any way.  Loose paint came off as expected but stable paint was not susceptible to even rigorous rubbing with a cloth.  In other words the paint was not softened and dislodged from the metal surface.  Here are some before and after shots:


The primed backing plate (which is located inside the back fender of the scoot) did have some dislodging of the primer and when rubbed vigorously the primer began to separate from the metal.  Over all I am very pleased.  You can see how the white paint really cleaned up nicely.  I am not sure how I will address the primer issue as this scoot has lots of primed surfaces under the rear fender and in the gas tank holding area. I do not want that primer to come loose.  The other challenge will be finding a way to dunk all the different sides of the scoot in the Evapo-Rust.  This is a submersion process and I am not going to purchase a 55 gallon drum.  I have a few ideas...

Evapo-Rust  $23  Grand total $973

Saturday, May 2, 2015

Dis-assembly continued rear light, horn and rubber bits

I have been continuing with the dis-assembly in preparation for some cleaning and de-rusting.

Today I took off the rear light and rear shock and found some rubber bits which I have soaking in brake fluid to see how supply they will become and if they can be used again.

Here are some photos and comments on the progress.

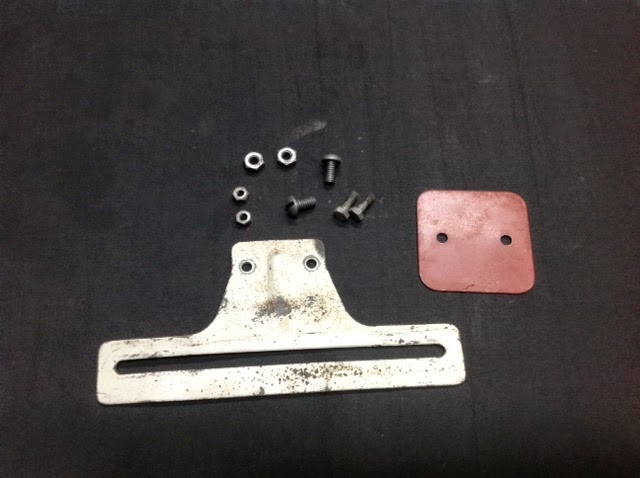
Original front horn and gasket.  The gasket is in good shape and will soften up with a brake fluid soak and be re-usable.


Check out these pictures of the switch.  If you look closely at the harness on the left you can see it is hand tied together with string.  There are so many signs of this being hand built it is crazy.  I was not sure if the wiring harness could be saved due some wear and tear at the engine end but the front end is in great shape so maybe with a little love it can be used.  Sadly the string tying the wires together is falling off and will not make it very much further in the process.


For my own good I am recording here the order of these wires as they go in to the terminals.  This order is from left to right in the picture below. green, yellow, black, maroon, pink, brown, white is on the far right for the horn.  Red is the incoming power which hooks up to its own terminus and is not part of the switching mechanism.

F

After taking off the rear shock I was pleased with how clean it looked inside the rear fender.  Not the normal ton of grease and dirt you would expect.  There is some grease in the front section of this rear fender but not much.  Not sure how much ride time was on this engine before it got separated from the scoot.  Very sad they were not reunited.   That black "T" is the rubber buffer gasket between the rear shock and the frame.  The gasket is in perfect condition supple and ready to roll.


Rear light inside and out.  A beautiful simple design.


If you look closely you can see there are little tabs which hold the white license plate light lens in place.


Rubber parts soaking in brake fluid including the horn gasket, bellows and the grey housing which guides the harness wires in to the switch.  I think that piece is still going to find a home on this scoot.